Setting up your spin bike correctly is essential for maximizing your workout effectiveness while preventing injury. Proper positioning of the seat height, handlebar distance, and resistance settings can make the difference between a mediocre workout and an exceptional calorie-burning session that targets all major muscle groups.
Essential Spin Bike Setup Components You Must Know
Before diving into specific adjustments, understanding your spin bike’s key components is crucial for proper setup. Modern stationary bikes in 2026 feature advanced adjustment mechanisms that allow for precise positioning to accommodate different body types and fitness goals.
The primary adjustable components include the saddle height mechanism, horizontal seat positioning, handlebar height adjustment, and resistance knob. Each component plays a vital role in creating an ergonomic riding position that mimics professional cycling posture while ensuring maximum comfort during your indoor cycling sessions.
Locating Your Bike’s Adjustment Knobs and Levers
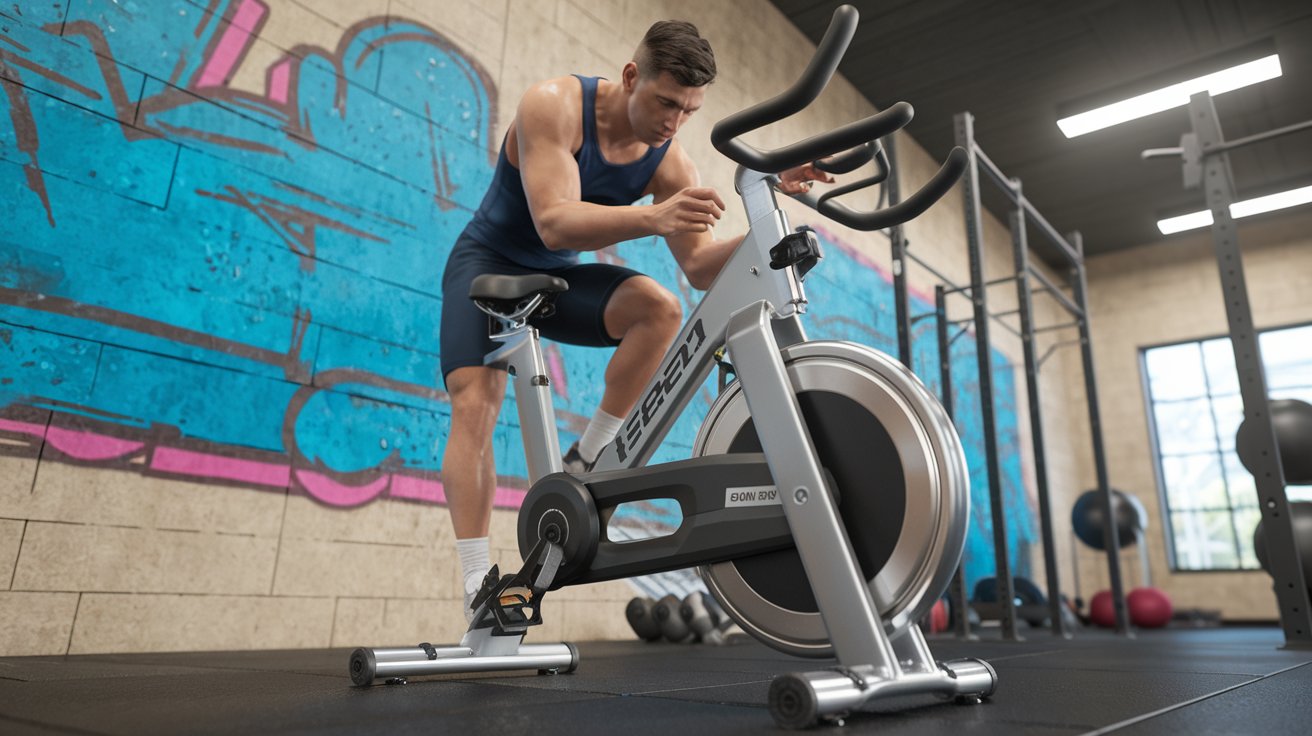
Most spin bikes feature four main adjustment points: the seat height lever (usually located beneath the seat), the horizontal seat slider, the handlebar height adjustment, and the resistance knob positioned on the frame. Familiarize yourself with these controls before beginning your setup, as proper adjustment will significantly impact your workout experience and prevent common cycling injuries.
Understanding Resistance Systems in Modern Spin Bikes
Contemporary spin bike resistance systems include magnetic, friction, and direct drive mechanisms. Magnetic resistance offers smooth, quiet operation ideal for apartment living, while friction systems provide a more traditional cycling feel. Understanding your bike’s resistance type helps you make precise adjustments for optimal training intensity and progressive overload.
Step-by-Step Spin Bike Seat Height Adjustment
Proper saddle height adjustment forms the foundation of correct spin bike setup. An incorrectly positioned seat can lead to knee pain, reduced power output, and potential long-term joint issues. The ideal seat height allows for optimal leg extension while maintaining proper pedaling mechanics.
To determine the correct height, stand next to your bike and adjust the seat so it aligns with your hip bone level. When seated with your foot at the bottom of the pedal stroke, your leg should have a slight 25-30 degree bend in the knee. This positioning ensures maximum power transfer while preventing overextension injuries.
Finding Your Optimal Leg Extension
Proper leg extension is achieved when your knee maintains a slight bend at the bottom of each pedal stroke. Place your heel on the pedal at its lowest point – your leg should be nearly straight but not locked. When you return to proper ball-of-foot positioning on the pedal, you’ll achieve the ideal 25-30 degree knee flexion for optimal power and safety.
Common Seat Height Mistakes to Avoid
The most frequent error is setting the seat too low, causing excessive knee bend and reduced power output. Conversely, a seat positioned too high forces overextension, leading to hip rocking and potential lower back strain. Both positions significantly increase injury risk and decrease workout effectiveness, making proper adjustment crucial for long-term success.
Handlebar Distance and Height Configuration
Handlebar positioning directly impacts your upper body posture and comfort during extended cycling sessions. The distance between your seat and handlebars should allow for a slight bend in your elbows while maintaining a neutral spine position without excessive forward lean.
For beginners, start with handlebars at seat height or slightly higher to promote comfort and reduce lower back strain. Advanced riders may prefer handlebars positioned lower than seat level to achieve a more aggressive, aerodynamic position similar to road cycling. Adjust height gradually to allow your flexibility and core strength to adapt.
Determining Proper Handlebar Distance
The correct handlebar distance allows you to reach the grips comfortably with slightly bent elbows and relaxed shoulders. When properly positioned, you should be able to maintain this posture throughout your workout without feeling stretched or cramped. A good test is ensuring you can place your forearm along the top tube with your elbow touching the seat nose.
Adjusting for Different Riding Positions
Modern spin classes incorporate multiple riding positions including seated, standing, and climbing positions. Your handlebar setup should accommodate all these positions comfortably. The standard position should allow easy transitions between seated and standing without requiring significant posture adjustments or causing strain in any position.
Resistance Settings for Different Fitness Levels
Understanding how to properly adjust and utilize resistance settings transforms your spin bike from a basic exercise machine into a versatile training tool. Resistance control allows you to simulate various terrain conditions and training intensities, making your workouts more engaging and effective.
Begin each session with minimal resistance to warm up your muscles and joints. Gradually increase resistance throughout your workout to match your desired intensity level. Most fitness experts recommend maintaining a cadence of 80-110 RPM across different resistance levels for optimal cardiovascular and muscular benefits.
Proper Body Positioning and Posture Guidelines
Maintaining correct body positioning throughout your spin session prevents injury and maximizes workout effectiveness. Your posture should remain consistent whether you’re seated or standing, with core engagement providing stability and power transfer through your legs.
Keep your shoulders relaxed and down, avoiding hunching over the handlebars. Your core should be engaged to support your spine, while your head remains in a neutral position looking forward. Weight distribution should favor your legs and core rather than placing excessive pressure on your hands and wrists.
Foot Positioning and Pedaling Technique
Proper foot positioning involves placing the ball of your foot over the pedal axle for maximum power transfer and efficiency. Your feet should remain parallel to the ground throughout the pedal stroke, avoiding excessive toe pointing or heel dropping. If using clipless pedals, ensure proper cleat positioning for optimal biomechanical alignment.
Core Engagement and Spinal Alignment
Maintaining a neutral spine position with engaged core muscles provides the foundation for effective spin bike workouts. Your abdominal muscles should be gently contracted to support your lower back, while avoiding excessive arching or rounding of the spine. This position enhances power transfer and reduces fatigue during longer sessions.
Special Considerations for Medical Conditions
Individuals with specific medical conditions can still benefit from spin bike workouts with proper modifications. Conditions like plantar fasciitis, Parkinson’s disease, and spinal stenosis require special setup considerations to ensure safe and effective exercise participation.
For plantar fasciitis sufferers, focus on proper footwear with adequate arch support and consider avoiding high-resistance settings that increase foot pressure. Those with Parkinson’s disease benefit from stable, recumbent-style positioning with additional safety features, while spinal stenosis patients should maintain more upright posture with higher handlebars.
Advanced Setup Tips for Optimal Performance
Once you’ve mastered basic setup, implementing advanced positioning techniques can further enhance your spin bike experience. Fine-tuning your position based on specific workout goals, body measurements, and personal preferences leads to superior results and increased workout enjoyment.
Consider investing in a professional bike fitting if you plan to use your spin bike extensively. Professional fitters can identify subtle positioning improvements that significantly impact comfort and performance. Additionally, regularly reassess your setup as your fitness level and flexibility improve over time.
Related video about how to set up a spin bike
This video complements the article information with a practical visual demonstration.
Your questions answered
How should my spin bike be set up for my height?
Set your seat height so it aligns with your hip bone when standing beside the bike. When seated with your foot at the bottom of the pedal stroke, maintain a 25-30 degree knee bend. Handlebars should be positioned at seat level or slightly higher for beginners, allowing comfortable reach with slightly bent elbows.
Is a stationary bike okay for plantar fasciitis?
Yes, stationary bikes can be beneficial for plantar fasciitis sufferers when properly set up. Use supportive athletic shoes with good arch support, avoid excessive resistance that increases foot pressure, and ensure proper foot positioning with the ball of your foot over the pedal axle. Start with low-impact, moderate intensity sessions.
What is the best exercise bike setup for Parkinson’s disease?
For Parkinson’s disease, choose a stable bike with a low step-through frame and consider recumbent models for better stability. Set handlebars higher for more upright posture, use larger pedal platforms or straps for foot security, and maintain moderate resistance levels. Always consult healthcare providers before beginning any exercise program.
Can I ride a spin bike with spinal stenosis?
Spin biking can be suitable for spinal stenosis when properly configured. Position handlebars significantly higher than seat level to maintain an upright posture, avoid aggressive forward-leaning positions, and focus on comfortable resistance levels. The upright position reduces spinal extension that typically aggravates stenosis symptoms.
How often should I adjust my spin bike settings?
Initially, you may need daily adjustments as you find your optimal position. Once established, reassess your setup monthly or whenever you experience discomfort. Major adjustments might be needed as your fitness level improves, flexibility increases, or if multiple family members use the same bike.
What resistance level should beginners start with?
Beginners should start with minimal resistance during warm-up, gradually increasing to a level where you can maintain 80-90 RPM comfortably while still being able to hold a conversation. This typically represents moderate intensity that allows for proper form development and gradual fitness progression without overexertion.
| Setup Component | Proper Adjustment | Key Benefit |
|---|---|---|
| Seat Height | Hip level when standing, 25-30° knee bend | Maximizes power, prevents injury |
| Handlebar Position | Seat height or higher for comfort | Reduces back strain, improves posture |
| Resistance Settings | Start low, maintain 80-110 RPM | Progressive training, optimal cardio |
| Foot Position | Ball of foot over pedal axle | Maximum efficiency, proper biomechanics |