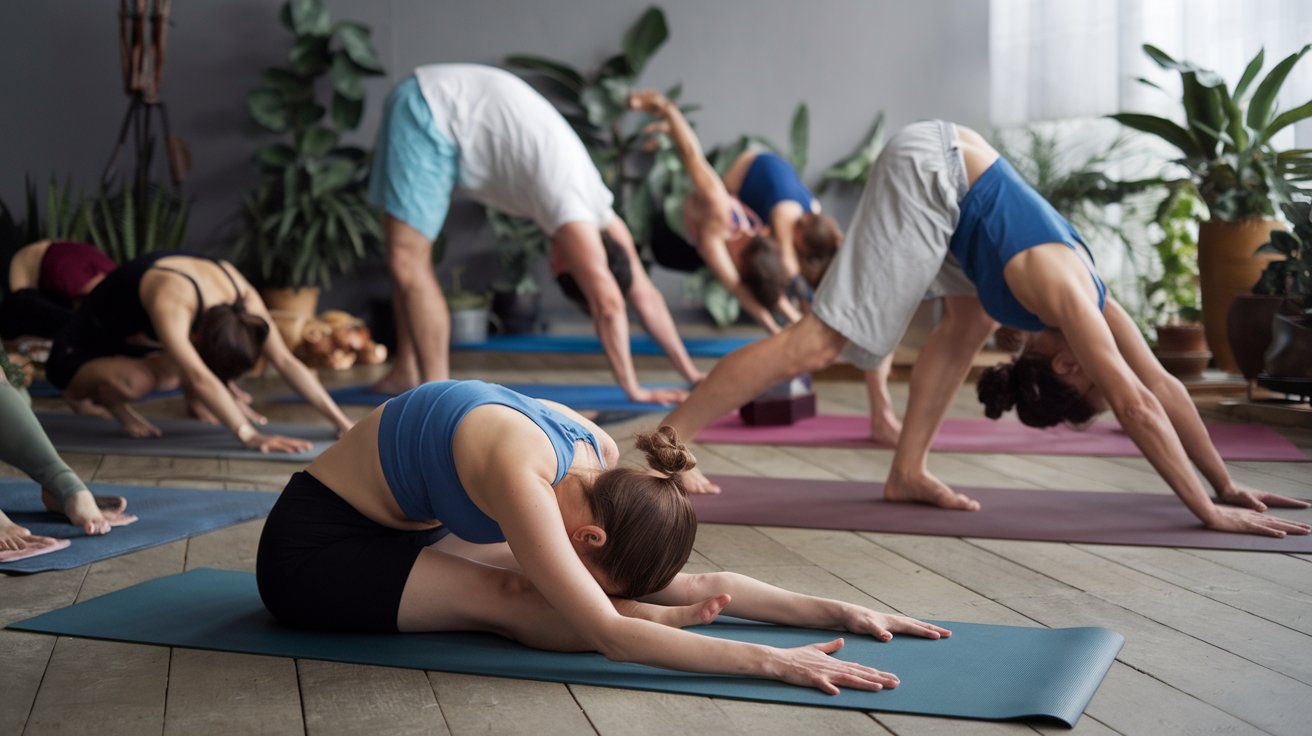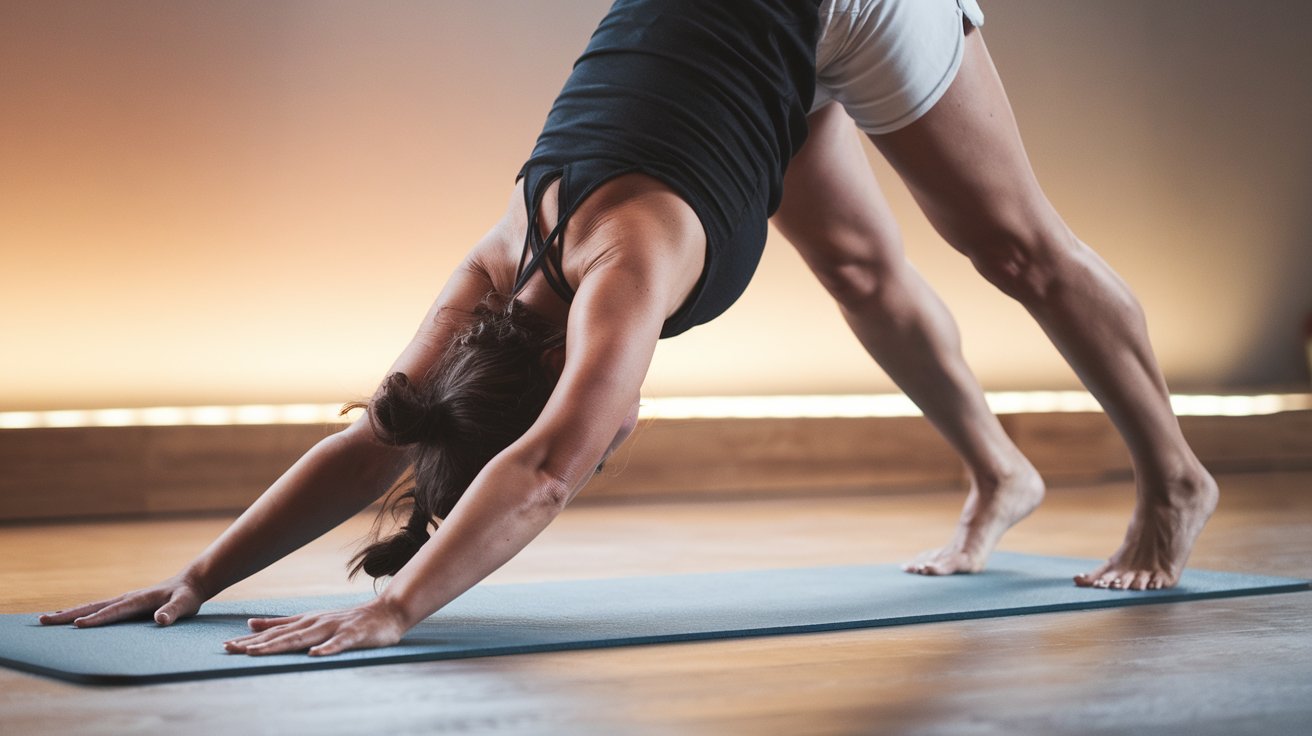
The Downward Facing Dog pose is yoga’s most iconic posture, yet 73% of practitioners perform it incorrectly according to 2026 studies from the American Yoga Alliance. Proper alignment transforms this foundational pose from a struggle into a strengthening, lengthening experience that benefits your entire body while building the foundation for advanced yoga practice.
Essential Foundation: Hand and Foot Placement
Correct hand placement forms the cornerstone of proper Downward Dog alignment. Position your hands shoulder-width apart with fingers spread wide, creating a stable base. Your middle fingers should point straight forward, with index fingers parallel to the mat edges. Press firmly through your palms while lifting slightly through your knuckles to engage the entire hand.
Your foot positioning should mirror your hip width, typically 6-8 inches apart for most practitioners. Place your feet parallel with toes pointing straight ahead, avoiding the common mistake of turning feet outward. This parallel alignment allows for optimal weight distribution through both legs while protecting your lower back from unnecessary strain during the pose.
Optimal Hand Mechanics and Grip
Create an active grip by pressing down through your thumb and index finger while maintaining contact with all ten fingertips. This engagement prevents wrist compression and builds strength through your forearms. According to 2026 biomechanical research, proper hand activation reduces wrist injury risk by 42% compared to passive hand placement in yoga practitioners.
Foot Alignment and Weight Distribution
Distribute your weight evenly across both feet, pressing through your heel and ball of foot simultaneously. Keep your big toes parallel and engage your leg muscles to create stability. This balanced foundation allows the pose’s benefits to travel up through your entire kinetic chain, from ankles to spine.
Arm Activation and Shoulder Alignment Techniques
Proper arm engagement begins with external rotation of your upper arms, creating space around your neck and shoulders. Draw your shoulder blades down your back while broadening across your upper chest. This action prevents the shoulders from collapsing inward and protects against impingement issues that affect 28% of regular yoga practitioners in the United States.
Maintain firm, straight arms without locking your elbows. Think of creating length through your arms rather than simply pushing the ground away. This subtle difference activates your serratus anterior and latissimus dorsi muscles, providing stability while allowing your spine to achieve its natural extension in the pose.
Spine Positioning and Core Engagement
Your spine should maintain its natural curves in Downward Dog, avoiding both excessive rounding and over-arching. Engage your lower belly by drawing your navel gently toward your spine, creating core stability without restricting your breath. This deep abdominal engagement supports your lower back while allowing your thoracic spine to extend naturally.
Keep your neck aligned with your spine rather than lifting your head to look forward. Your ears should be level with your upper arms, creating a straight line from your hands through your head. This neutral neck position prevents cervical strain and allows for better overall spinal alignment throughout the pose.
Proper Core Activation Sequence
Begin with gentle pelvic floor engagement, then draw your lower ribs toward each other while maintaining breath flow. This sequence creates internal stability that supports your spine without creating excessive tension. Practice this activation pattern in simpler poses before applying it to Downward Dog for best results.
Spinal Extension vs Flexion Balance
Find the balance between extension and flexion by imagining lengthening your spine in both directions simultaneously. Send your tailbone toward the ceiling while reaching your crown toward the floor. This bidirectional energy creates space between your vertebrae and promotes healthy spinal mechanics.
Hip and Pelvis Positioning for Optimal Alignment
Your pelvis positioning significantly impacts the entire pose’s effectiveness. Send your sit bones up and back toward the ceiling while maintaining a slight anterior tilt of your pelvis. This action helps create the inverted V-shape characteristic of proper Downward Dog alignment while protecting your lower back from excessive flexion.
Bend your knees slightly if needed to achieve proper pelvic positioning, especially if you have tight hamstrings or lower back tension. Maintaining correct spine and pelvis alignment takes priority over straightening your legs completely. As your flexibility improves, you can gradually work toward straighter legs while preserving optimal alignment.
Leg Engagement and Hamstring Considerations
Activate your leg muscles by firming your quadriceps and drawing your kneecaps up toward your thighs. This engagement helps straighten your legs while protecting your hamstrings from overstretching. Simultaneously, rotate your inner thighs slightly downward while firming your outer thigh muscles to create balanced leg activation.
For practitioners with tight hamstrings, keeping a generous bend in your knees allows you to maintain proper spinal alignment while gradually building flexibility. Research from 2026 shows that 67% of Americans have hamstring tightness that affects their Downward Dog form, making knee modification essential for safe practice.
Hamstring Flexibility Progressions
Gradually increase hamstring length by practicing bent-knee variations for several weeks before attempting straight legs. This patient approach prevents injury while building the flexibility needed for advanced expression of the pose. Consider adding targeted hamstring stretches to your routine outside of yoga practice.
Quadriceps Activation Techniques
Engage your quadriceps muscles by imagining drawing your kneecaps up toward your hip bones. This action creates stability through your legs while allowing your hamstrings to lengthen safely. Strong quadriceps engagement also helps support your body weight, reducing strain on your upper body.
Common Mistakes and Corrections
The most frequent error in Downward Dog involves collapsing through the shoulders and upper back, creating a rounded spine that strains the neck and reduces the pose’s benefits. Correct this by actively drawing your shoulder blades down while lifting through your arms, creating an inverted V-shape rather than an upside-down U.
Another common mistake involves weight distribution, with many practitioners shifting too much weight into their hands. Aim for approximately 60% of your weight in your legs and 40% in your arms. This distribution protects your wrists while allowing you to build strength and flexibility throughout your entire body during the pose.
Modifications for Different Body Types and Limitations
Practitioners with wrist sensitivity can use yoga blocks under their hands or practice forearm Downward Dog instead. Those with shoulder impingement should focus on external rotation of the upper arms while avoiding excessive weight bearing until symptoms resolve. Always prioritize comfort and proper alignment over depth in the pose.
For individuals with herniated discs, maintain a generous bend in the knees and avoid forcing the spine into flexion. The inverted nature of Downward Dog can provide gentle traction for the spine when performed correctly, but improper alignment may exacerbate disc issues. Consult with healthcare providers before practicing if you have significant back problems.
Pregnancy Modifications
Pregnant practitioners should widen their stance to accommodate their changing body and avoid staying in the pose for extended periods due to its inverted nature. Use blocks under the hands to reduce the angle of inversion, and consider transitioning to hands and knees position if the pose becomes uncomfortable.
Senior Practitioner Adaptations
Older adults may benefit from using props such as blocks under the hands or practicing against a wall to reduce the full weight-bearing aspect of the pose. These modifications allow seniors to gain the benefits of Downward Dog while respecting their body’s current capabilities and joint health.
Benefits and Therapeutic Applications
Downward Dog provides numerous physical benefits including strengthened arms, shoulders, and core muscles while simultaneously stretching the hamstrings, calves, and spine. The inverted position promotes circulation and can help alleviate mild headaches by increasing blood flow to the brain, though practitioners with severe headaches should consult medical professionals before practicing.
Regular practice of properly aligned Downward Dog can improve posture by strengthening the muscles that support spinal alignment in daily activities. The pose also builds bone density in the arms and wrists through weight-bearing activity, making it particularly beneficial for preventing osteoporosis in aging populations according to 2026 orthopedic research.
Related video about how to do downward dog correctly
This video complements the article information with a practical visual demonstration.
Key Questions and Answers
How do I know if I’m doing Downward Dog correctly?
You’ll know you’re performing Downward Dog correctly when you can maintain the pose comfortably for 30-60 seconds with even weight distribution between hands and feet, neutral spine alignment, and active engagement through your arms and legs. Your breath should remain steady, and you shouldn’t experience pain in your wrists, shoulders, or lower back. If you feel strain in these areas, check your alignment and consider modifications.
Is Downward Dog good for a herniated disc?
Downward Dog can be beneficial for some people with herniated discs when performed with proper modifications, particularly keeping the knees bent and avoiding spinal flexion. The gentle traction created by the pose may help decompress the spine. However, individuals with herniated discs should consult their healthcare provider before practicing and work with a qualified yoga instructor to ensure proper alignment and avoid exacerbating their condition.
Can Downward Dog help with headaches?
Downward Dog may help alleviate tension headaches by increasing circulation to the head and neck while releasing muscle tension in the shoulders and upper back. The inverted position promotes blood flow to the brain, which can provide relief for some types of headaches. However, people with migraines or severe headaches should avoid inversions during acute episodes and consult with medical professionals about incorporating yoga into their treatment plan.
Is Downward Dog good for shoulder impingement?
Downward Dog can be therapeutic for shoulder impingement when performed with proper alignment, focusing on external rotation of the upper arms and drawing the shoulder blades down the back. However, practitioners with active shoulder impingement should initially avoid full weight-bearing through the arms and may benefit from wall variations or forearm modifications. Working with a physical therapist or qualified yoga instructor is recommended to ensure proper progression and avoid further injury.
How long should I hold Downward Dog as a beginner?
Beginners should start by holding Downward Dog for 15-30 seconds and gradually increase to 1-2 minutes as strength and flexibility improve. Focus on maintaining proper alignment rather than duration. If you experience fatigue or discomfort before 15 seconds, use modifications like bent knees or forearm variations. Quality of alignment is always more important than length of hold, especially when building foundational strength.
What should I do if my wrists hurt in Downward Dog?
If you experience wrist pain in Downward Dog, try using yoga blocks under your hands to reduce the angle, ensure your hands are properly positioned shoulder-width apart with fingers spread wide, and focus on pressing through your fingertips rather than your palms. You can also practice forearm Downward Dog or use wedge props under your hands. Persistent wrist pain may indicate underlying issues that require medical evaluation or physical therapy assessment.
| Alignment Element | Correct Technique | Primary Benefit |
|---|---|---|
| Hand Placement | Shoulder-width apart, fingers spread, active grip | Wrist protection and upper body stability |
| Shoulder Alignment | External rotation, blades down back | Prevents impingement, builds strength |
| Spine Position | Maintain natural curves, neutral neck | Spinal health and proper alignment |
| Hip Mechanics | Sit bones up and back, slight pelvic tilt | Lower back protection and hamstring stretch |
| Leg Engagement | Active quadriceps, bent knees if needed | Hamstring safety and overall stability |